Feeling the significant impact of alignment, I’ve been getting the urge to try various settings…
That said, I don’t have time to take it to TYPE ONE every time, so learning to do it myself is the realistic choice.
The world of alignment seems intimidating—can an amateur really get into this?
What concerned me about the DB8 was the rapid wear on the outer shoulder of the front tires. On the other hand, the inner side showed almost no wear, so I wanted to add more camber to utilize the full tire width.
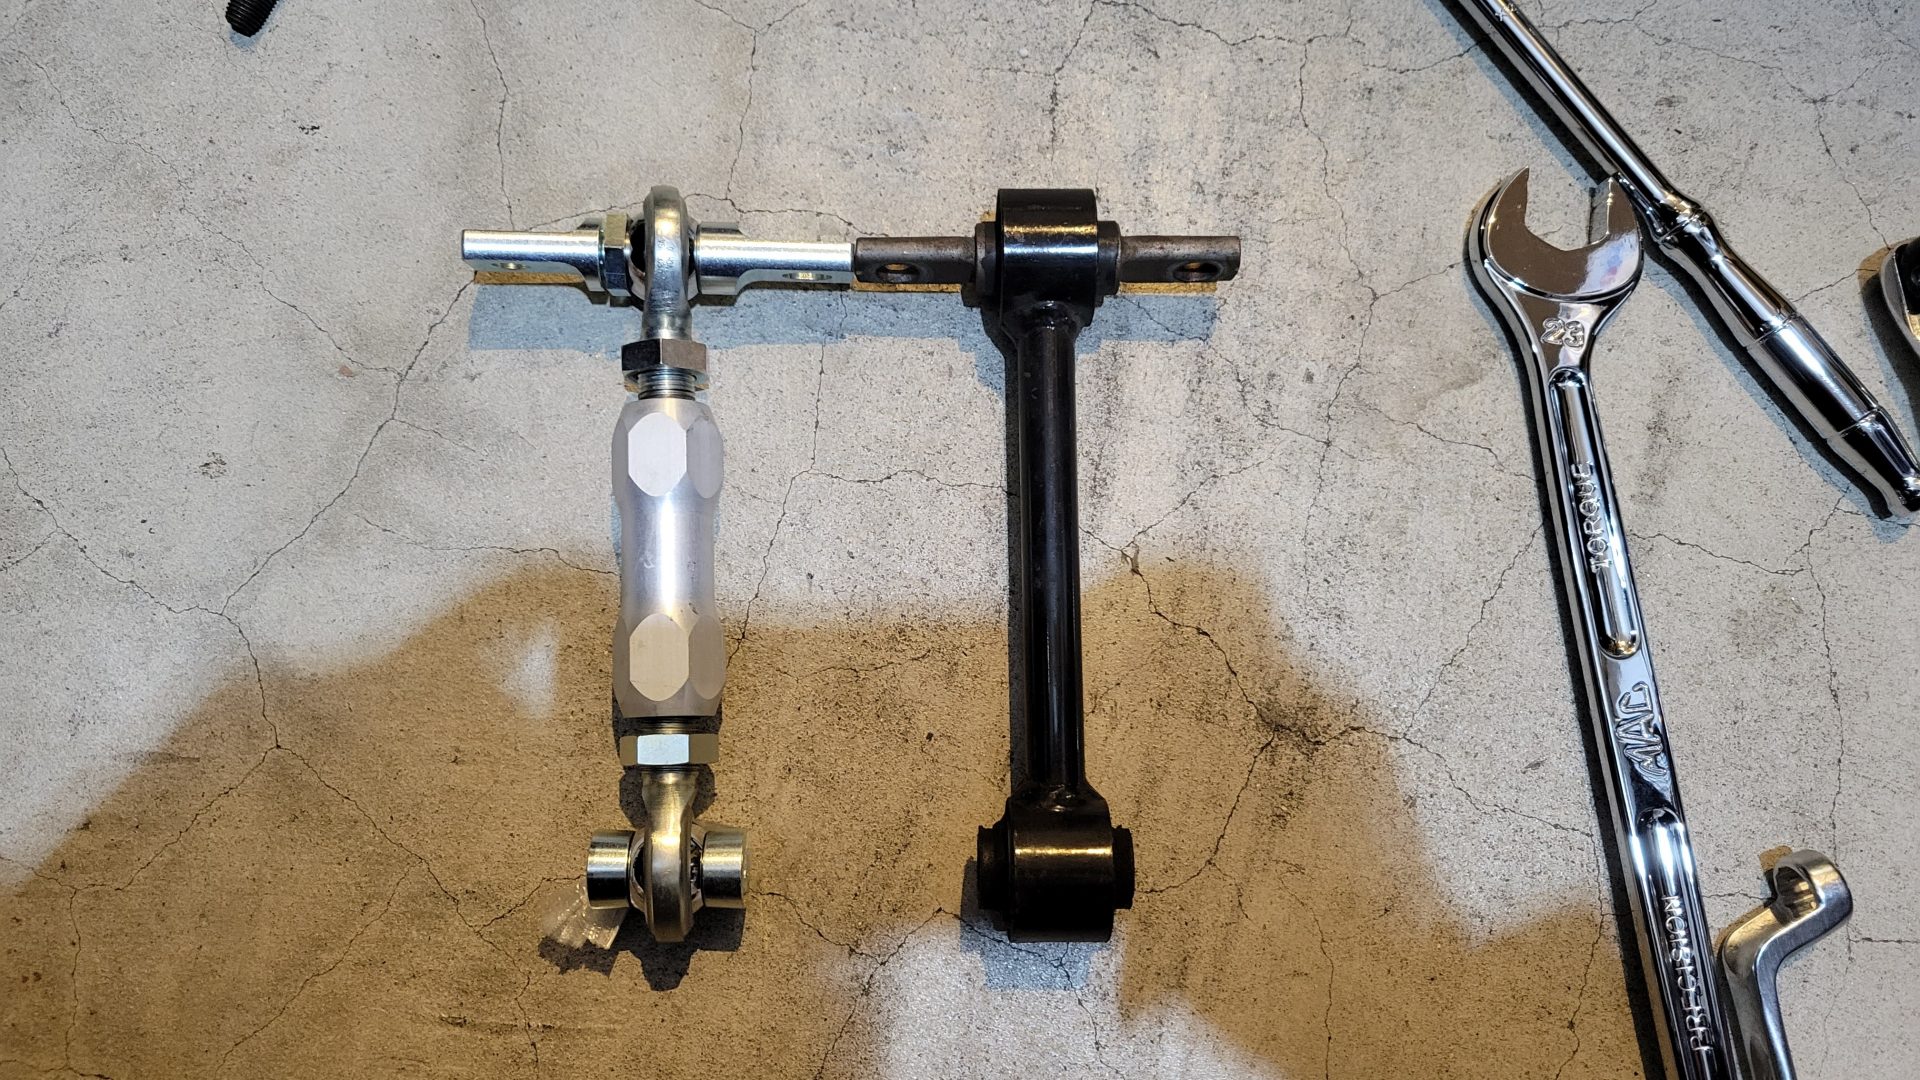
That said, aftermarket camber arms are basically not street legal, and the only one that comes with strength calculations and can pass inspection is the J’S Racing upper arm, so I got those for both front and rear.
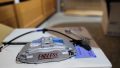
Removing the upper arms would throw off the current alignment, so I needed to be able to measure what the current setup reads at home. I also got an alignment gauge from Iketani Formula.
The next problem was: can I measure at the same position every time?
The garage has a drainage slope, so the front and rear aren’t level. How do I create a level surface? Even if I could, I couldn’t imagine being able to jack it up and lower it precisely onto that spot.

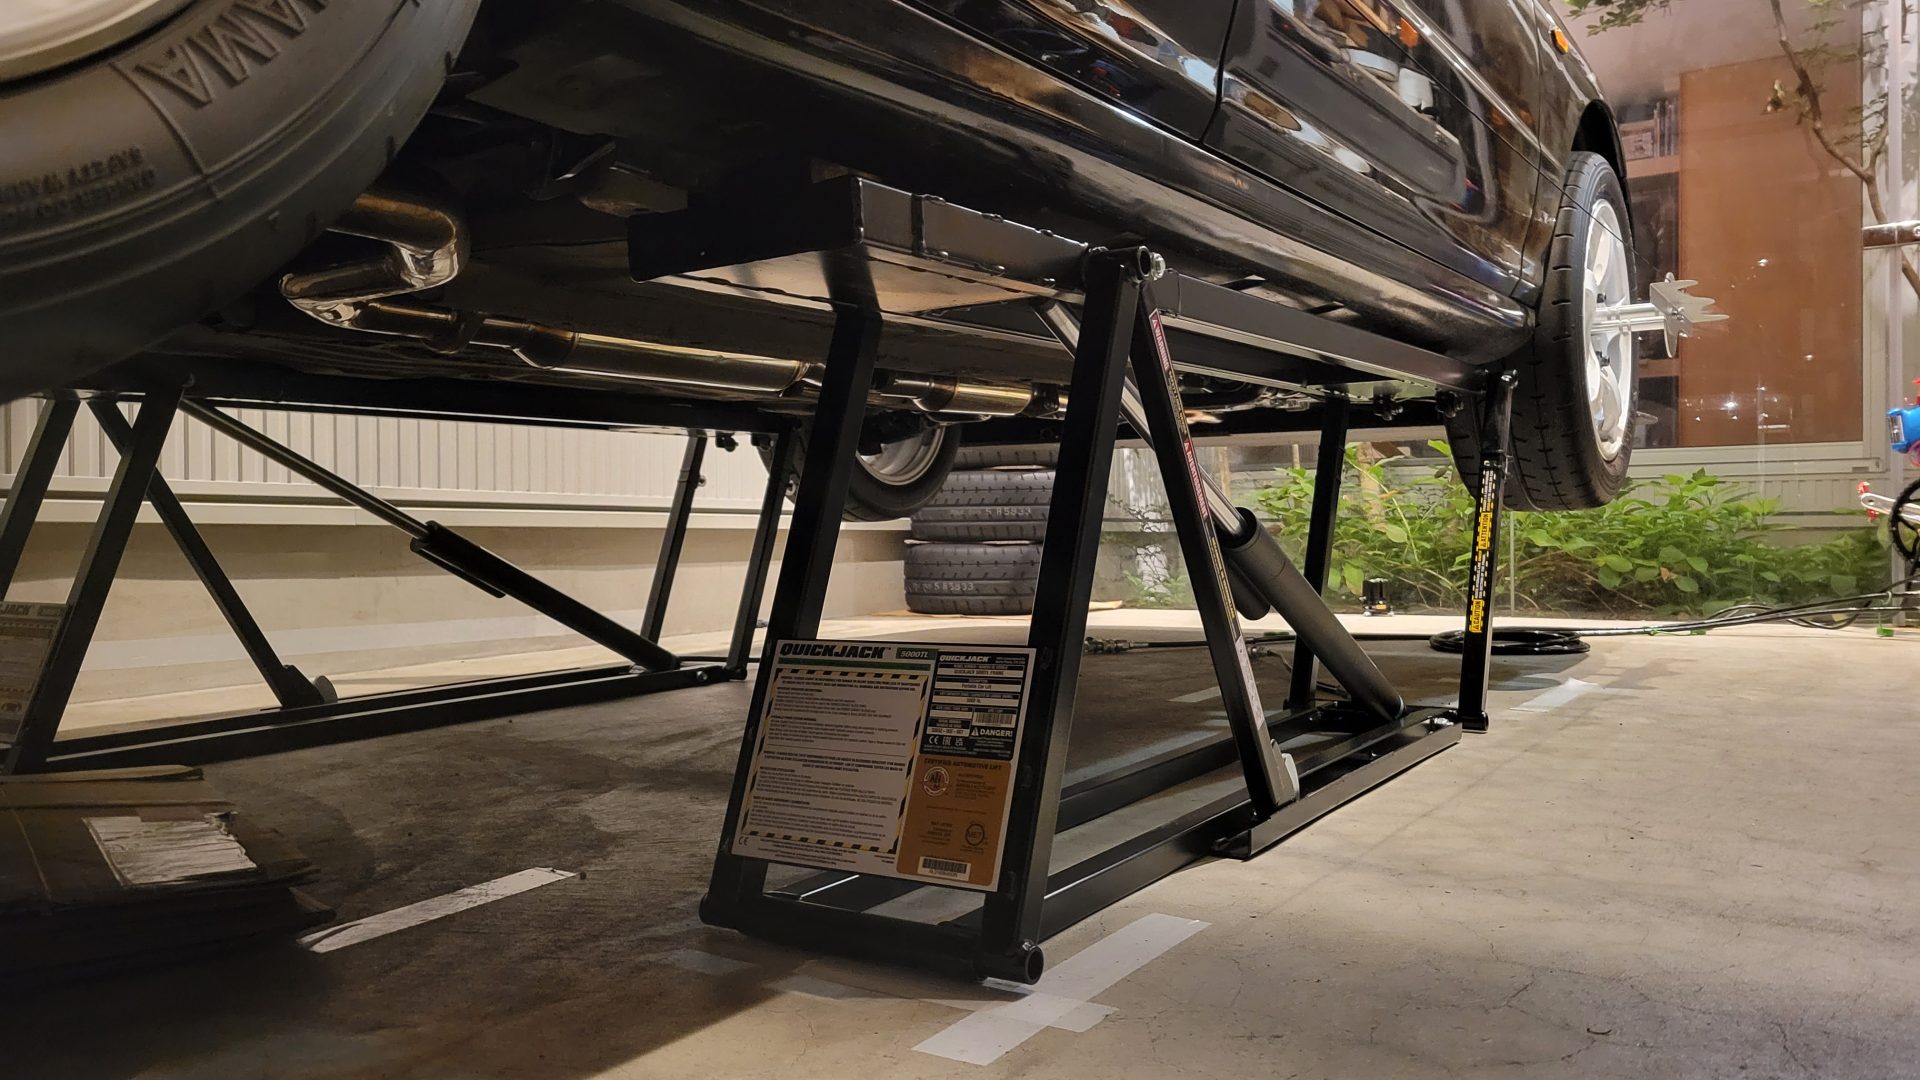
Once I start messing with alignment, there’ll be more lifting and lowering, and with the DB8 and S2000 two-car setup, maintenance tasks have been increasing. Considering convenience and safety, I decided to get a QuickJack. Being able to lift the car at home with just a button press was a dream of mine, so I was pretty moved.
It rises to about 70cm, so you can even roll over while under the car.
I measured and marked the dimensions so I can measure the alignment set by Type One at a fixed position in my garage. I manage it by how much to adjust from the measured and recorded values.
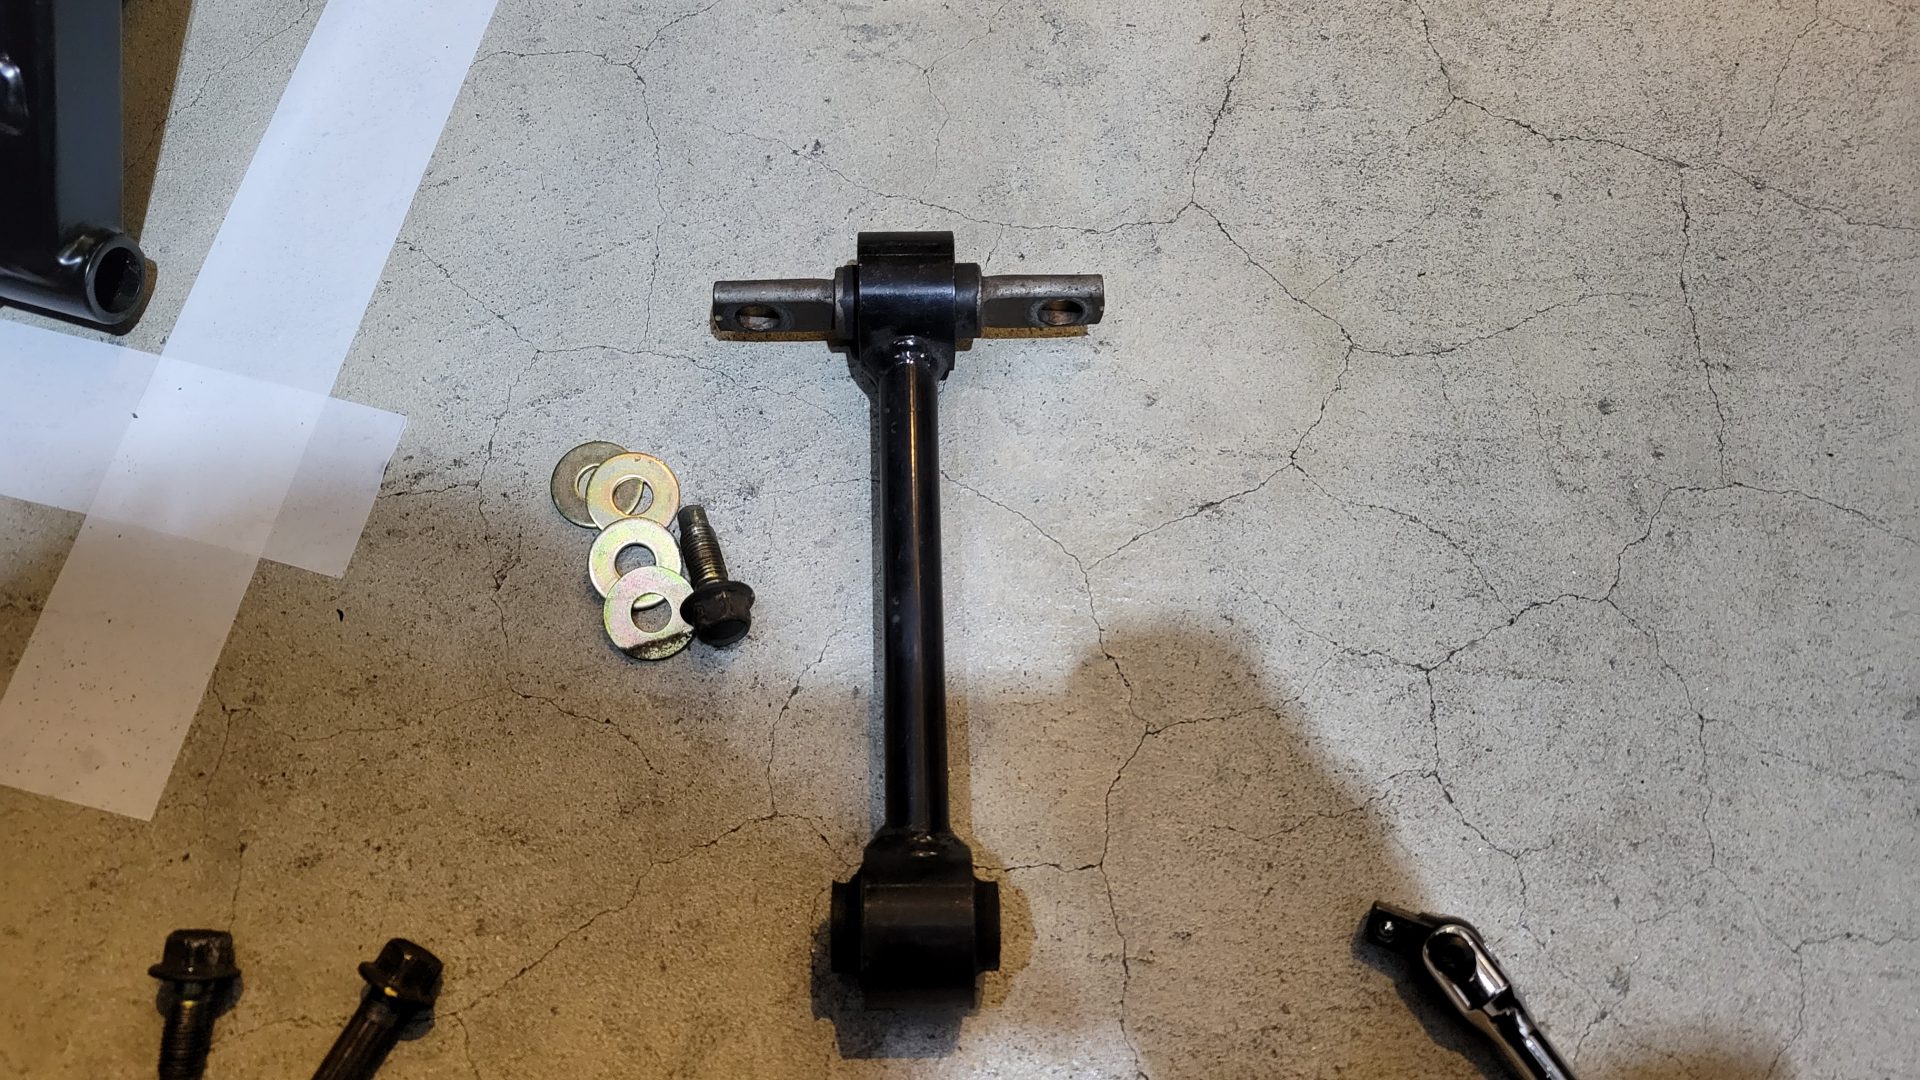
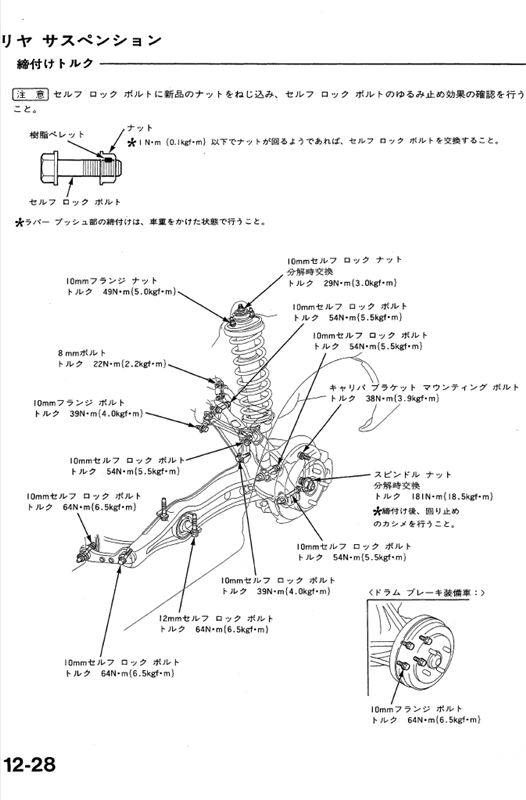
When I removed the rear upper arm, I found two washers shimmed in. They seem to have been added to compensate for the left-right camber difference.
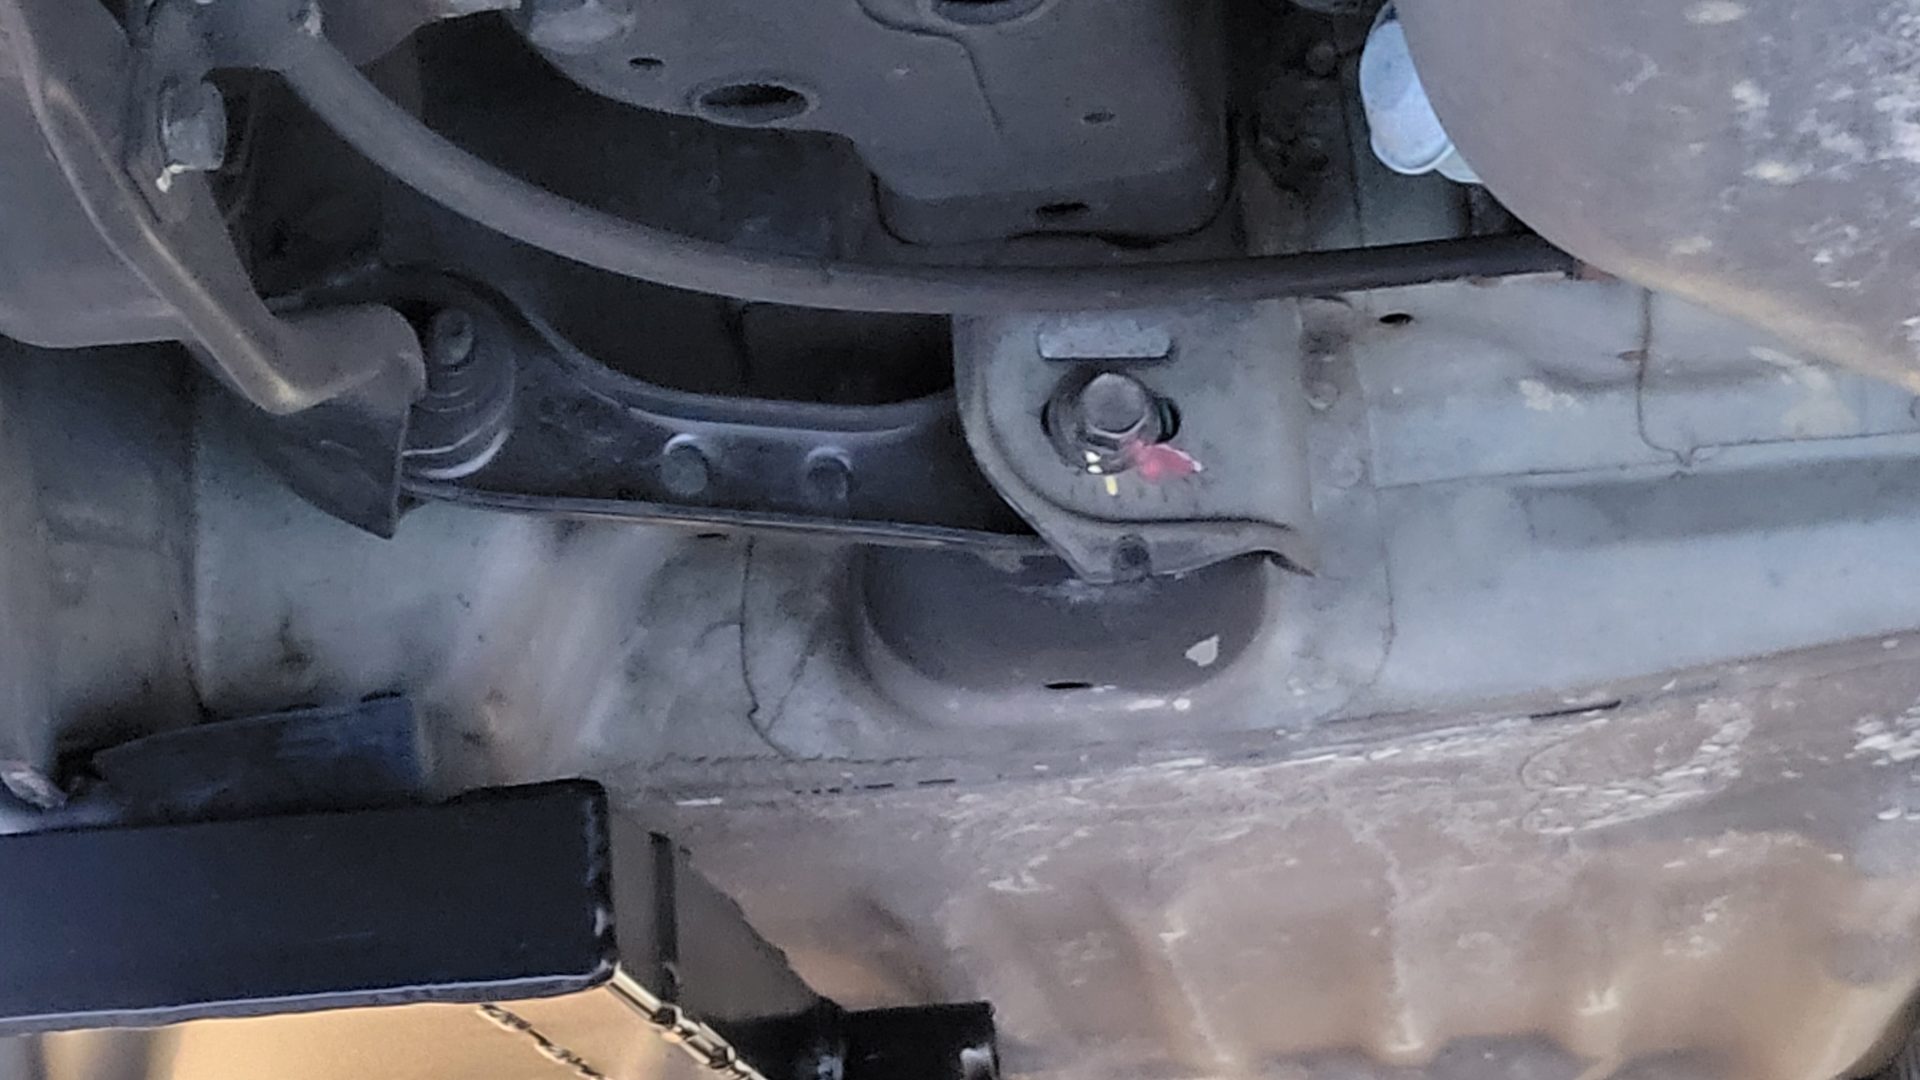
For the rear, installing the camber arms didn’t affect the toe (the values stayed the same), but since there’s more camber now, I adjusted it a bit more toe-out. The mechanism adjusts toe by loosening the bolt here and moving the arm left or right. It takes considerable force to move the arm, so having tools that can apply torque using leverage, like a pry bar or long flathead screwdriver, is helpful.
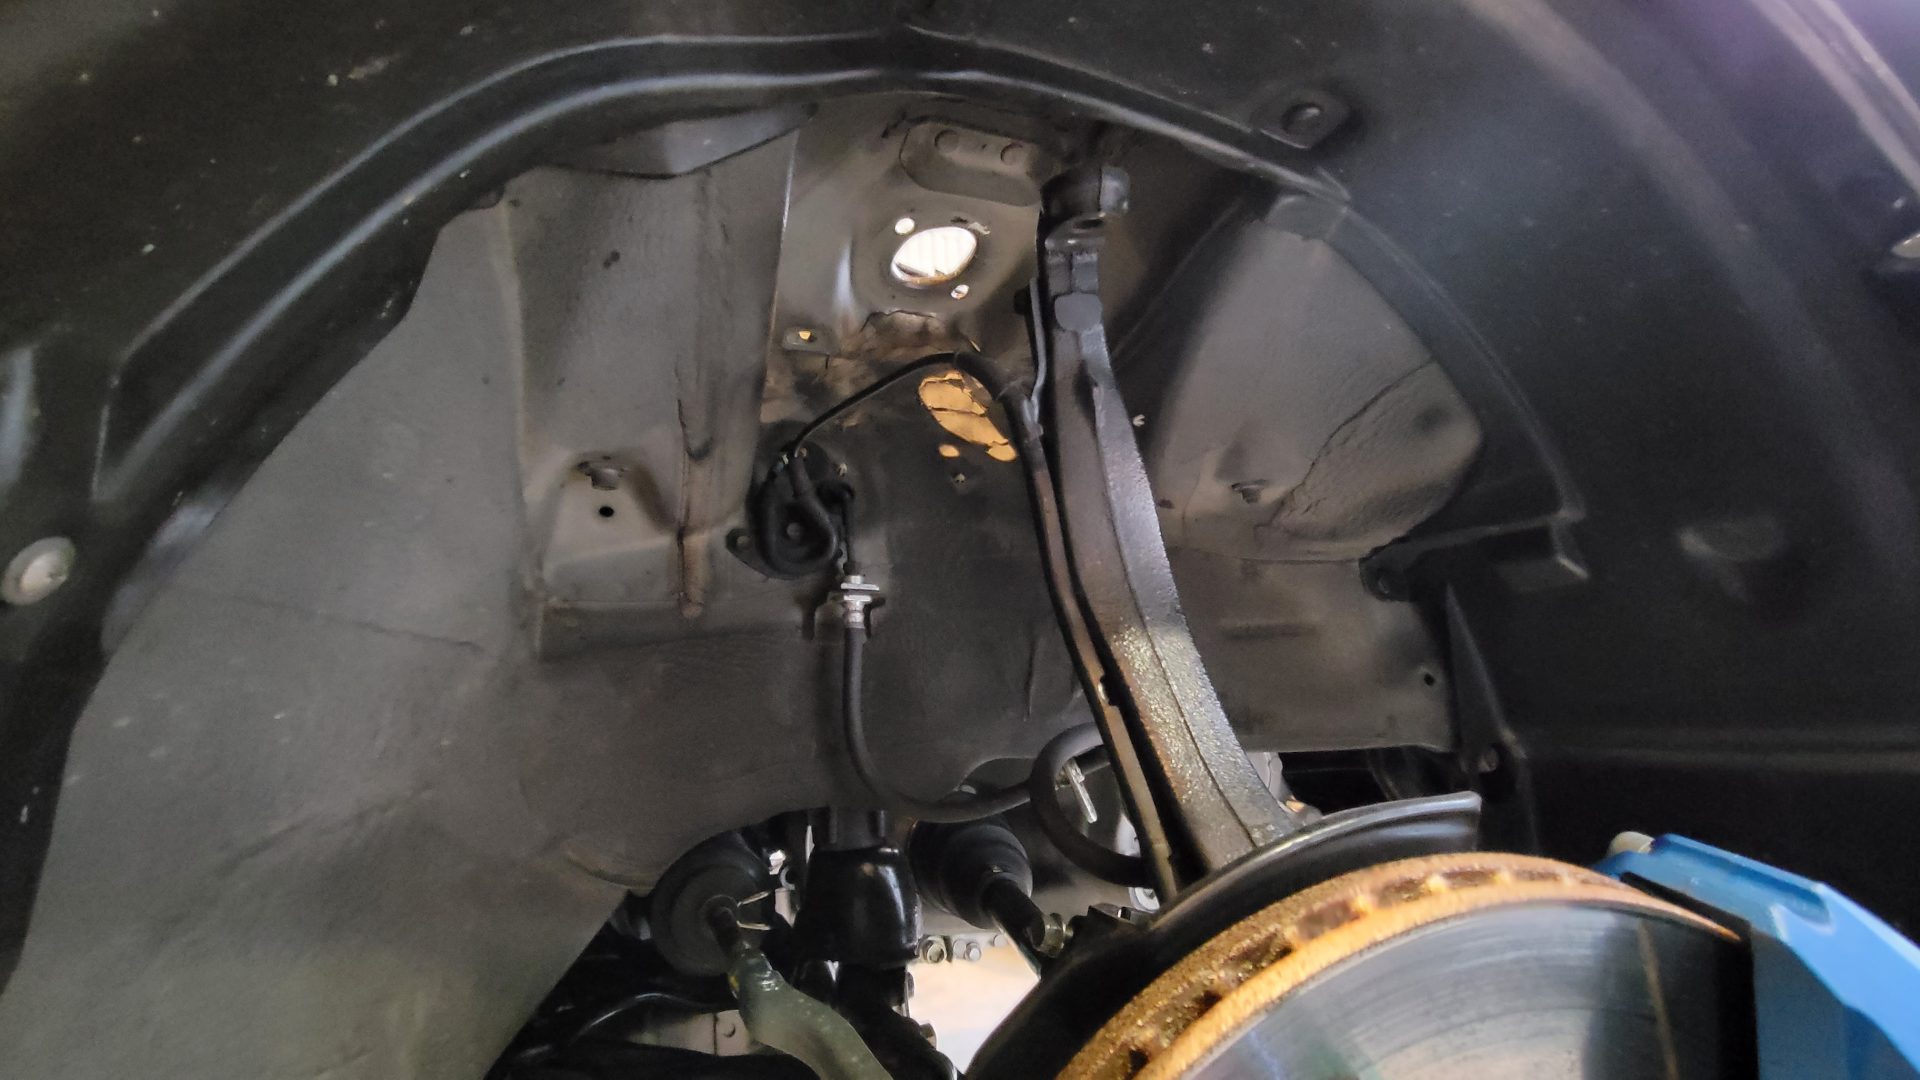
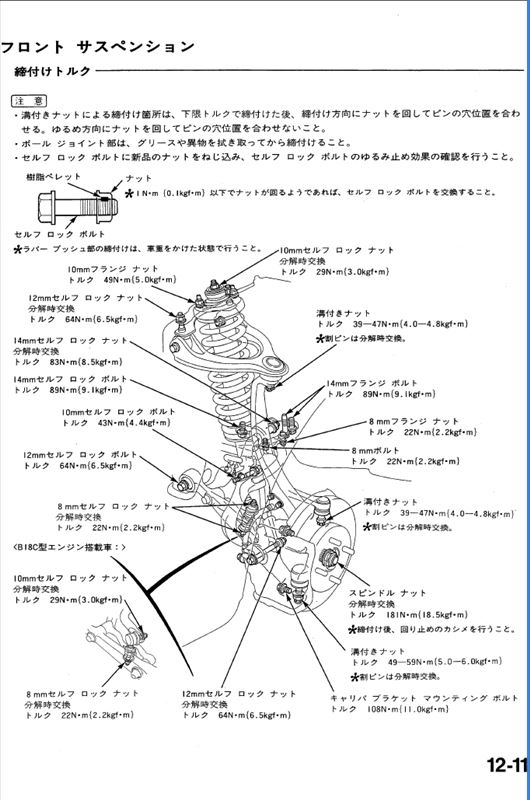
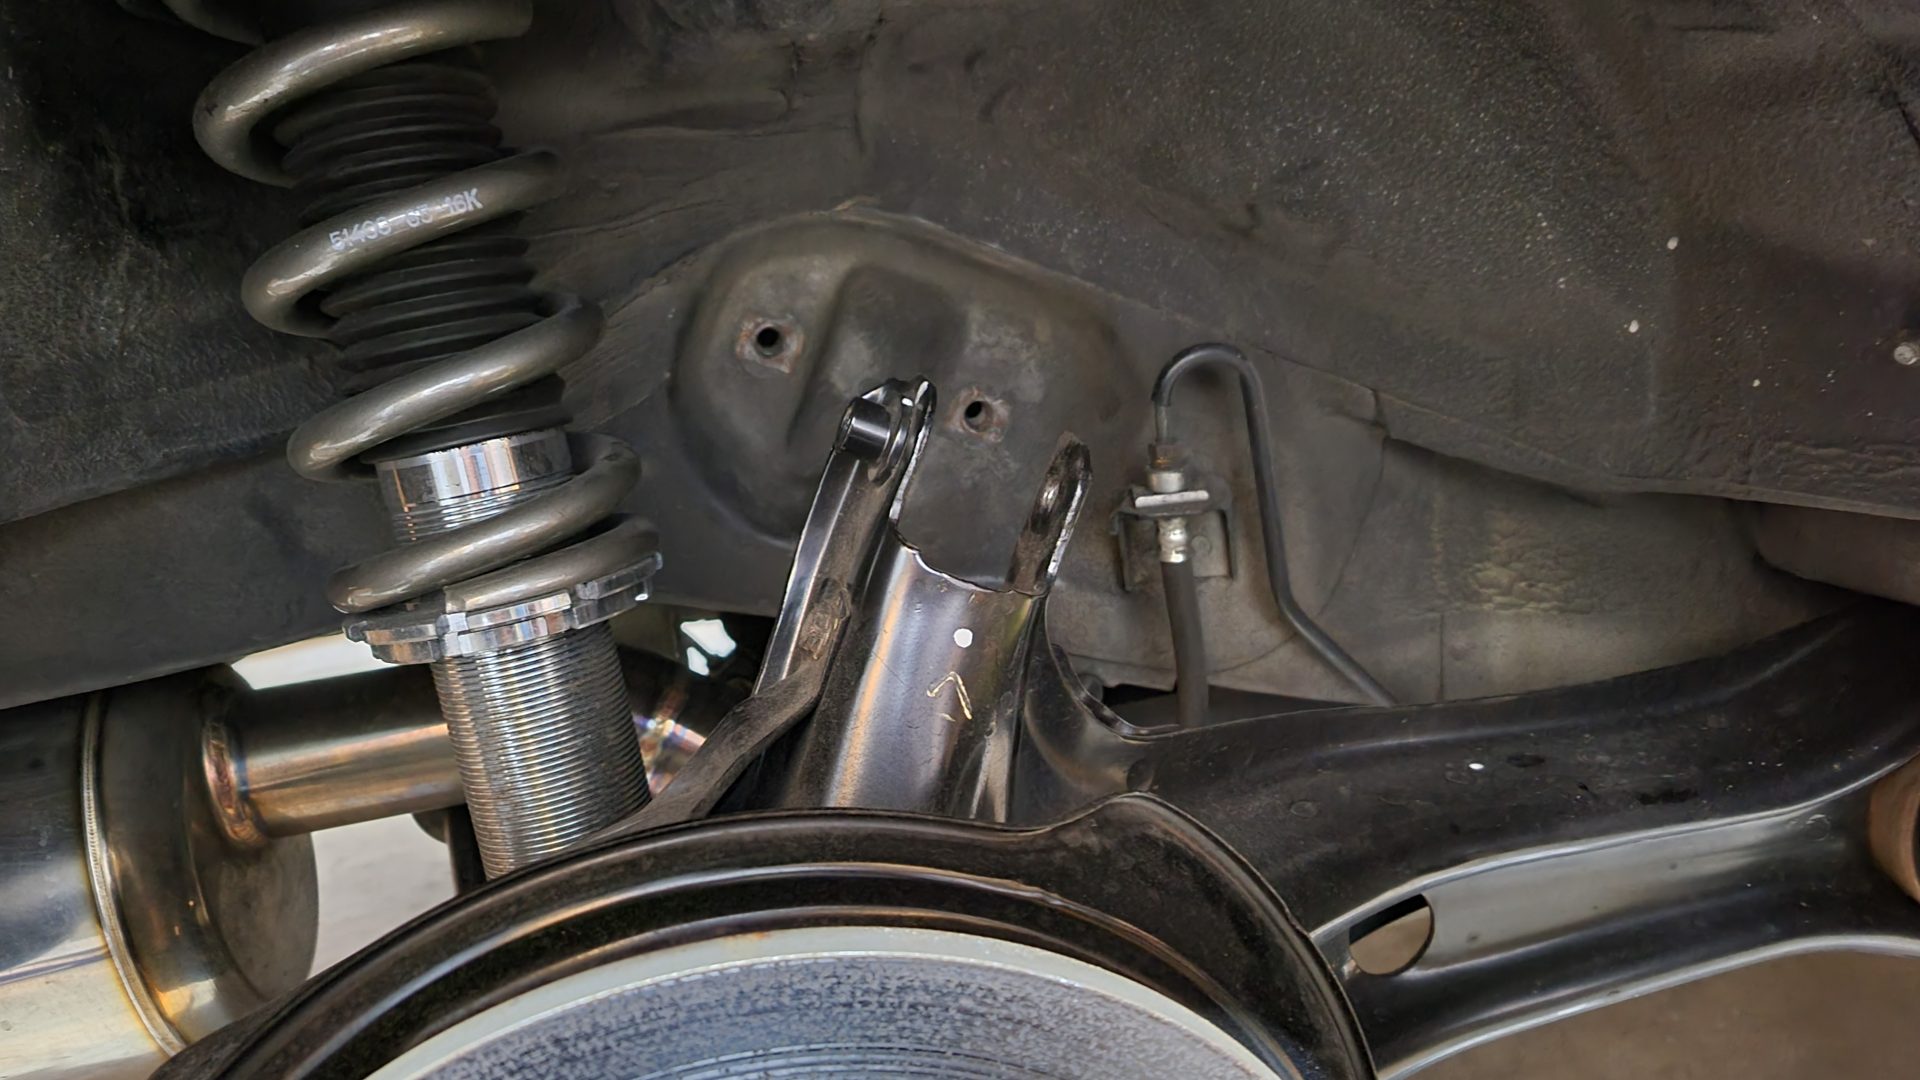
For the front, you need to remove the strut bar and suspension to access the upper arm. Without an air impact wrench, suspension bolts are tough—but with one, the work goes pretty smoothly. A 1/2″ swivel extension is also handy for compensating slight angle differences.
When I added camber to the front, the toe got pulled into extreme toe-out, so I matched it to Type One’s toe settings.

The settings are: front camber -3.9°, rear camber -3°, front toe-out 20′, rear toe-in 3′.

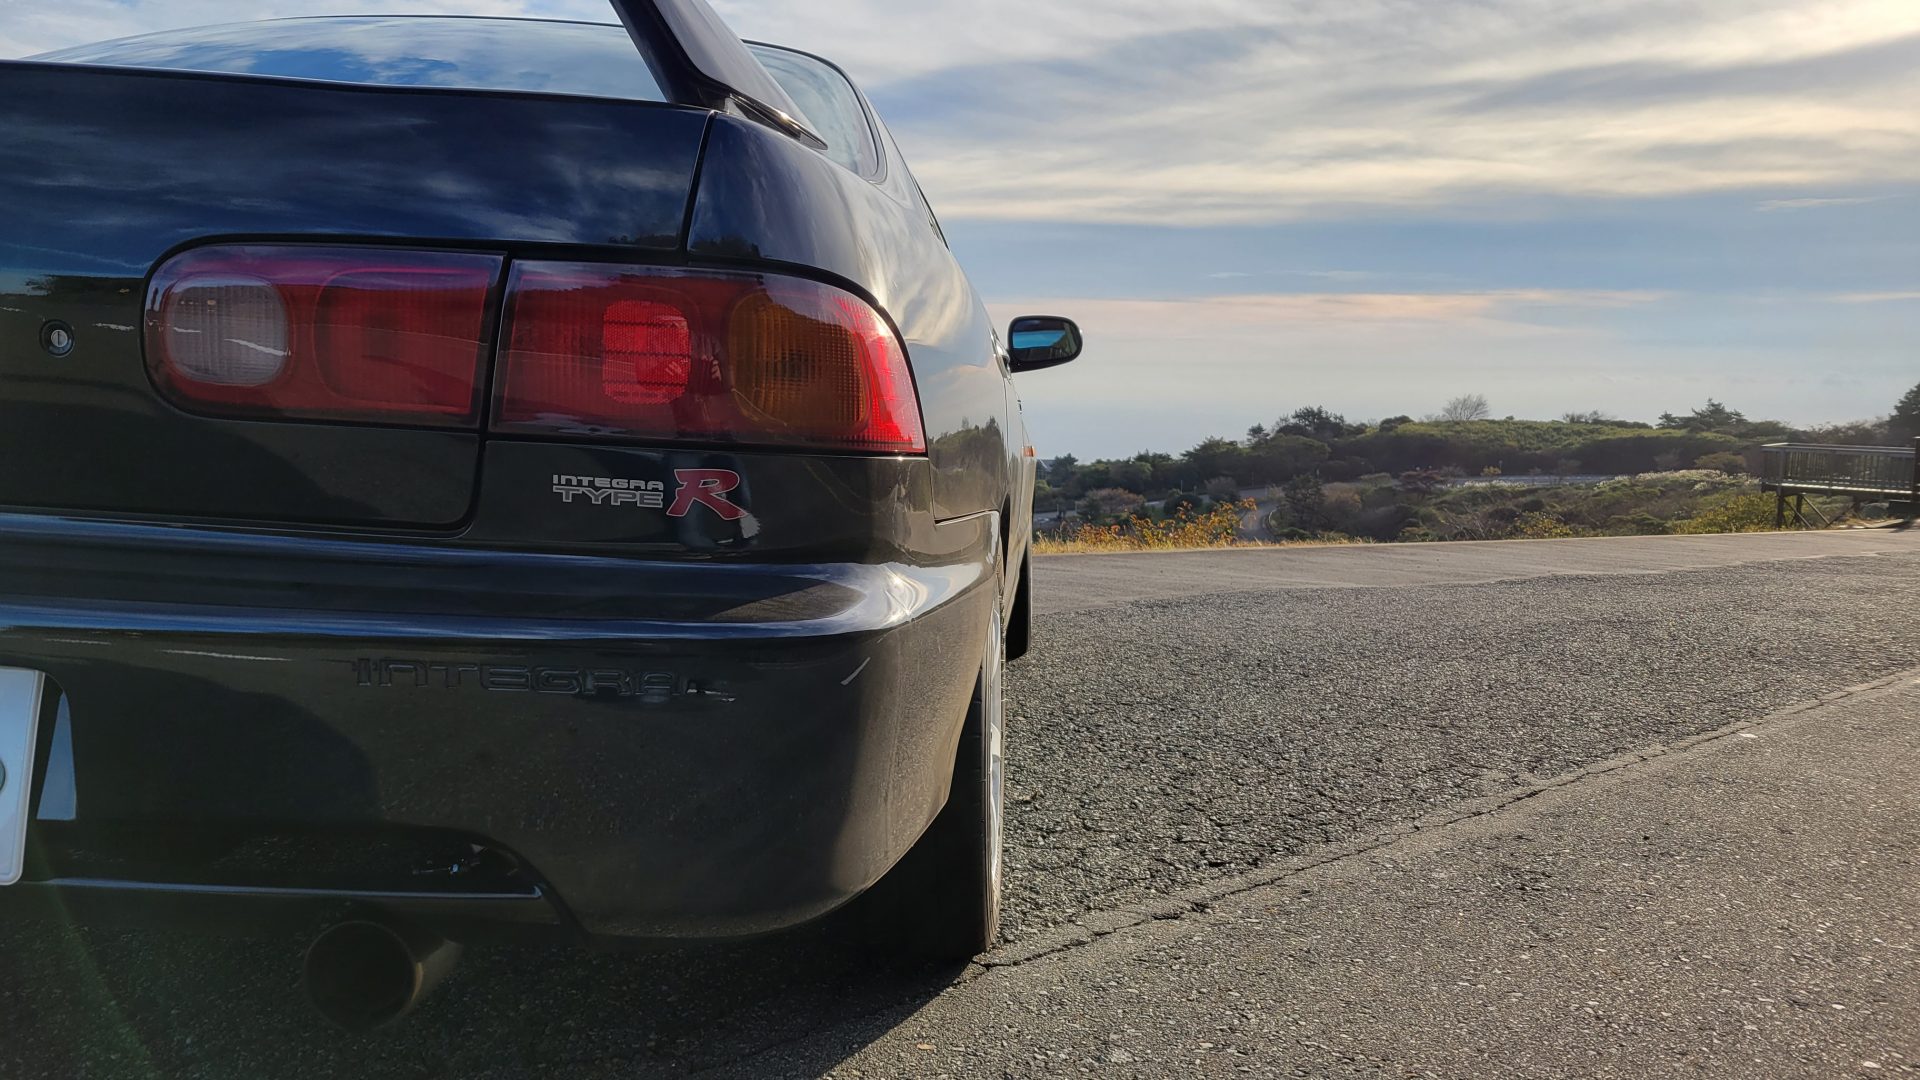
I’d been hesitant to try this, but with a trip to Izu coming up, I decided to do the work in preparation. The steering wheel is centered, there was no scary behavior, and after driving several hundred kilometers round trip with no issues, I’d say it’s a success for now.
Looking forward to fine-tuning it gradually.